Getting Started with STEM at Home
No expensive kits needed. Simple science experiments and engineering challenges using things you've got in the kitchen.

Why STEM at Home Matters
Here's the thing: kids don't need fancy equipment to explore science and engineering. They need curiosity, a few household items, and someone willing to let them experiment. When you create space for hands-on learning at home, you're building something that sticks — real understanding instead of memorized facts.
STEM learning develops problem-solving skills, builds confidence, and shows kids that they can figure things out. Plus, it's genuinely fun. You'll watch your child go from "this is boring" to completely absorbed in figuring out why their structure fell down and how to fix it.
What You Already Have at Home
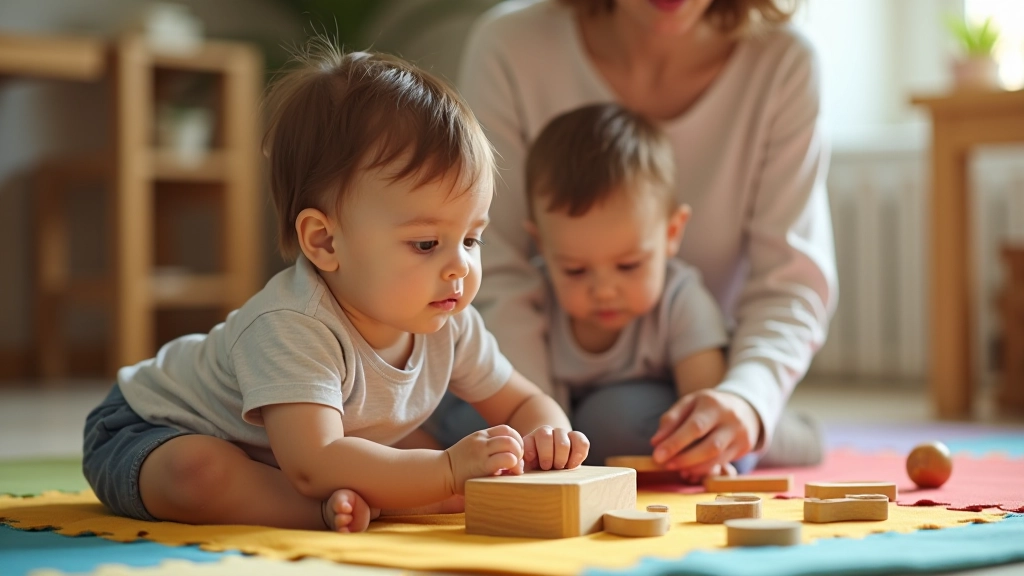
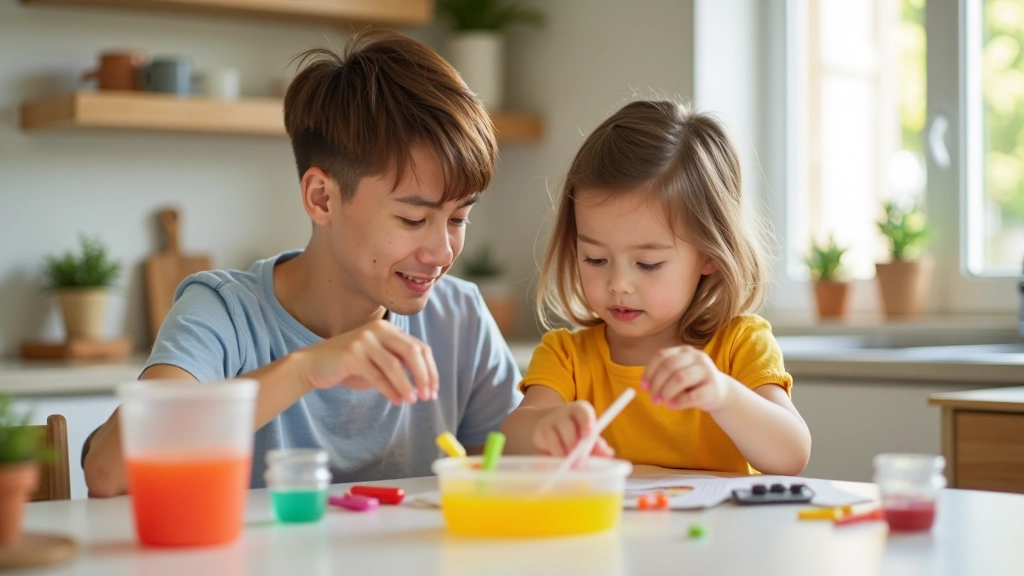
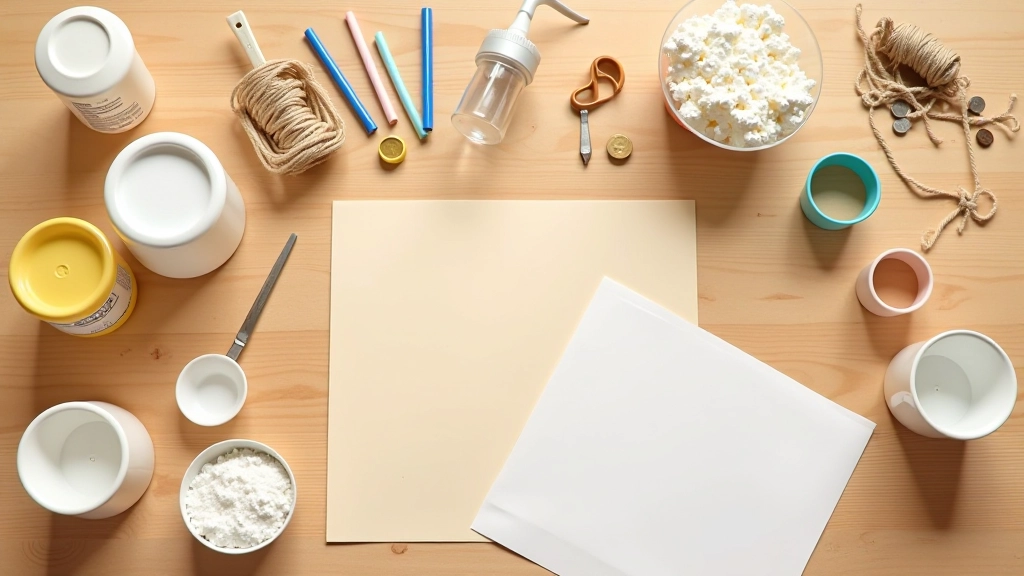
Stop thinking you need to buy anything special. Your kitchen is basically a STEM lab already. Baking soda and vinegar make volcanoes. Empty bottles become rockets. String and straws become structures. The best part? These aren't "toys" — they're actual materials scientists and engineers use to test ideas.
Common things that work great: measuring cups and spoons, containers of different sizes, salt, sugar, food coloring, paper towel tubes, paper plates, tape, rubber bands, coins, batteries (for older kids), ice, water. That's honestly enough for weeks of experiments. You're not creating artificial activities — you're letting kids explore real materials and real problems.
The key is having a dedicated space where experiments can be messy. A corner of the kitchen table, the garage floor, or even outside works perfectly. Kids need to feel like they can explore without worrying about making a mess.
Simple Experiments That Actually Work
Here are some starting points. The real magic happens when your child modifies them, asks "what if," and tries their own variations.
Baking Soda Volcano
Build a structure from clay or paper, fill with baking soda, add food coloring and dish soap, pour vinegar. It's a chemical reaction kids can see. Then ask: what happens if we use more baking soda? Less vinegar? Different temperatures?
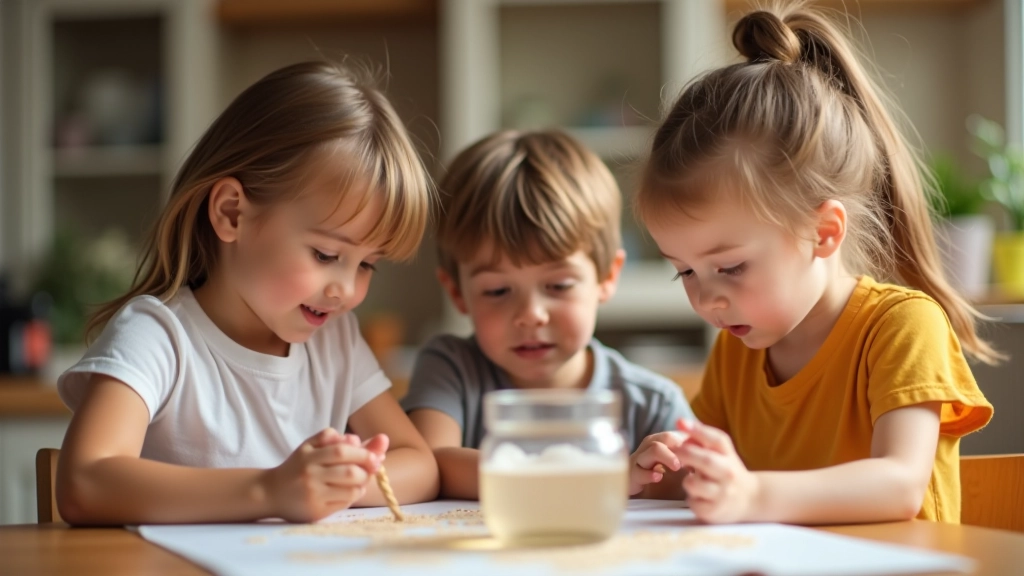
Sink or Float Predictions
Fill a bowl with water. Gather objects from around the house. Before testing each one, predict: will it sink or float? Write predictions down. Test them. This teaches hypothesis and observation — core science skills.
Bridge Building Challenge
Use straws, paper, tape, and string to build a bridge between two chairs. Test it with objects of increasing weight. How strong can you make it? This is pure engineering — problem-solving with constraints.

Making It Stick: The Question Approach
The biggest shift in mindset? Stop giving answers. Start asking questions. When something doesn't work, don't say "you did it wrong." Instead: "what do you think happened? What could we change? What would you try next?"
This is what real scientists do. They try something. It fails. They observe what happened. They adjust and try again. That's the skill you're building — not whether the volcano erupts perfectly, but whether your kid can think through problems independently.
You'll notice something shift around week 3 or 4. Kids start experimenting without prompts. They get an idea and actually try it. That's the real win. You're not creating dependent learners who need you to tell them what to do — you're raising curious problem-solvers.
Getting Started: Practical Tips
Make it easier on yourself with these simple strategies
Keep a Supply Box
Dedicate a container to STEM supplies. When you see recyclables, save them. Toilet paper tubes, yogurt containers, bottle caps. Your kid always knows where materials are, and you're building the habit of reusing.
Schedule Regular Time
Saturday mornings work for many families. Tuesday after school works for others. Consistency matters more than frequency. 20 minutes once a week beats sporadic sessions. Kids start anticipating it and thinking about ideas ahead of time.
Embrace Mess and Failure
Water spills. Structures collapse. That's not failure — that's data. Kids learn more from what doesn't work than from perfect successes. Protect your surfaces, grab towels, and let them experiment freely.
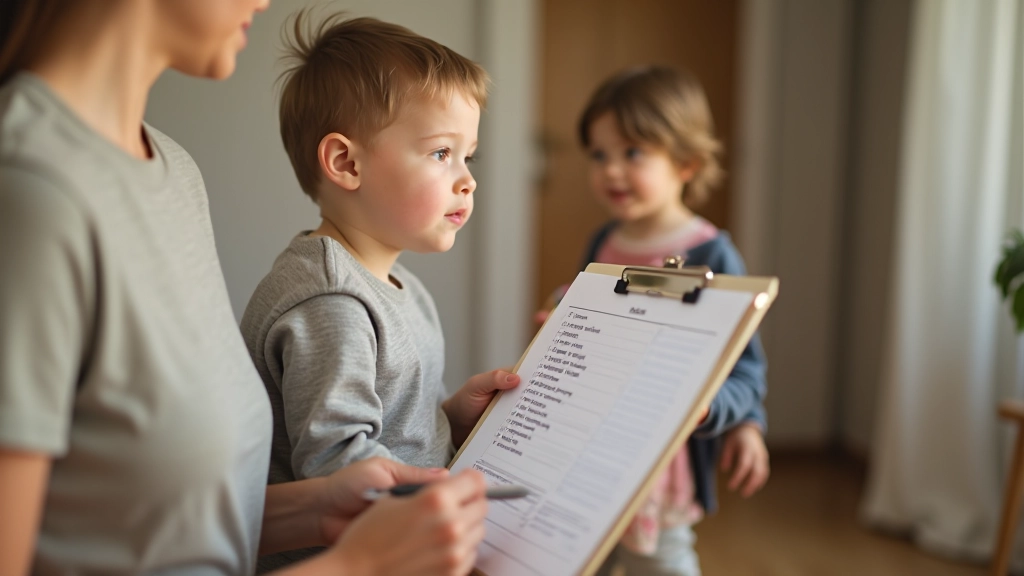
Document Progress
Take photos. Keep drawings. Save notes about what they tried and what happened. This becomes a record of growth. Plus, kids love seeing "remember when you tried that?" It builds confidence and shows learning happening.
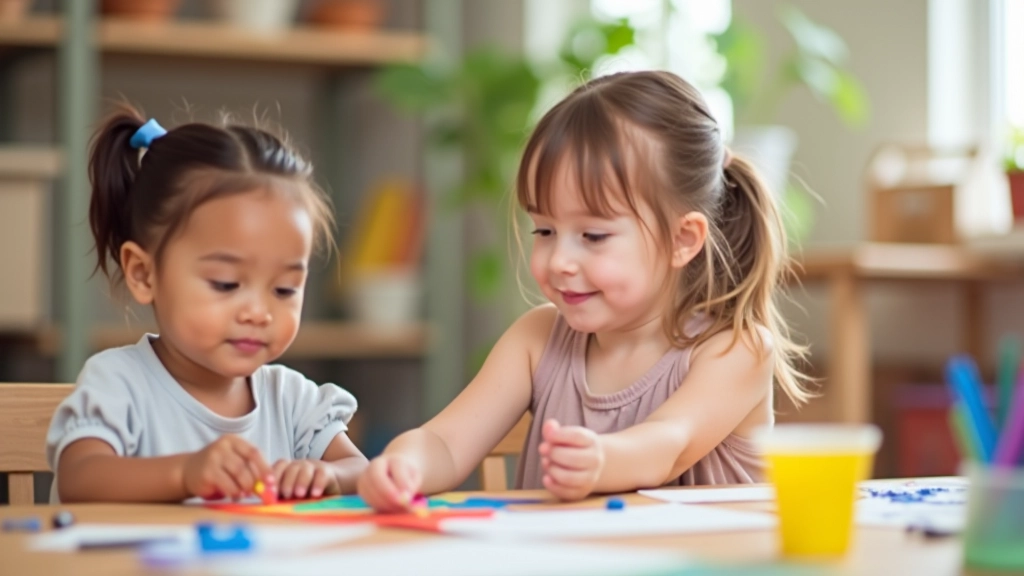
Involve Siblings
Different ages can work on the same project with different challenges. A 6-year-old stacks blocks. An 11-year-old designs a structure that holds weight. They learn from watching each other.
Track What Works
Keep notes on experiments your kids love. Which ones held their attention for 30+ minutes? Which ones created questions? Use that feedback to plan future activities. You're customizing to your kid's interests.
Start This Week
You don't need to plan the perfect activity or wait for the right moment. Pick one experiment from the list above. Gather materials from your kitchen right now. Set aside 20 minutes this weekend. That's it.
The goal isn't to raise a scientist or engineer — though that might happen. The goal is to build a curious, confident kid who knows they can figure things out. Someone who sees a problem and thinks "I could try this" instead of "I can't do that."
STEM at home isn't about fancy equipment or perfect results. It's about exploration, questions, and learning together. You've got everything you need already. Start now.
Explore More Learning Resources
Looking for structured approaches or more detailed guides? Check out our related articles on child development and creative learning.
Browse ResourcesImportant Note
This article is for educational purposes and provides general guidance on home-based STEM activities. Every child develops at their own pace. Always supervise experiments, especially those involving small objects, water, or heat. Consider your child's age, ability, and safety needs when selecting activities. If you have concerns about your child's development, consult with your pediatrician or child development specialist.